Supplies Needed:
- Nexus 7 (2013)
- Micro-USB cable
- Laptop with necessary drivers installed (Further Explanation Below)
- Cyanogenmod 12 install zip for Nexus 7 (2013): Download most recent version here
- Google USB Drivers(If having driver issues): Download most recent version here
- Clockworkmod Custom Recovery for Nexus 7 (2013):Download most recent version here
- Google Apps Package(Optional): Download for CM12 here(Choose the one for 5.0)
- Minimal ADB and Fastboot(optional, makes process a lot faster and saves storage space): Download here
Or
- Android SDK: Download most recent version here
Instructions:
1) First, plug in the Nexus 7 into a USB port. It doesn't necessarily need to show up under My Computer as long as you can find it in a below step.

2) Next, if you're using the Android SDK. Navigate to the SDK folder after extracting it and open up Platform Tools. Next, hold shift and right click in the folder. You should see an option to "open command window here".
![]()

Click that and go to the next step.
Now the below steps are the same for both methods of doing this. If using Minimal ADB and Fastboot, the only difference is that you need to open the program to bring up this window:

From here on out, all the commands are the same. Now then, on to step 3.
3) Next type in "adb devices" without the quotation marks into the command prompt. If your device is being picked up by the computer, you should see this show up:


4) Once you know your Nexus 7 is detected by your computer, type in "adb reboot bootloader" into the same command window.Your Nexus 7 should look like this:

Next, type in "fastboot oem unlock". This will unlock the bootloader on your Nexus 7, and allow you to install custom software like Cyanogenmod. A disclaimer tell you of the potential horrors of unlocking your bootloader will pop up. If you dare to ignore them, navigate the menu with your volume keys and confirm your bravery with the power button. Because everything has been wiped, you will need to re-enable USB debugging in your device settings. (See Step 3)
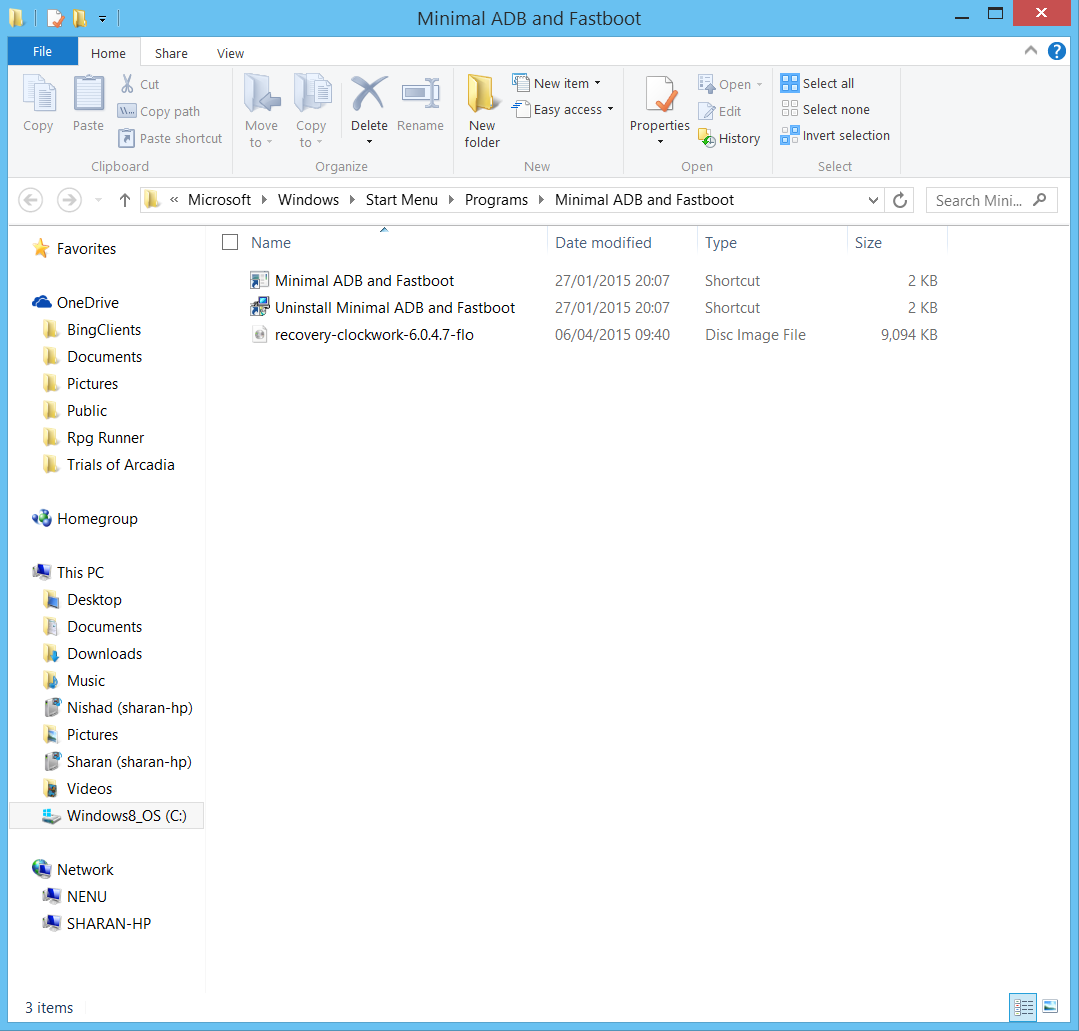
5) Now you need to install a custom recovery. A custom recovery will allow you to do things like make backups and or install Cyanogenmod or other mods. The built in recovery your tablet comes with does not allow for these things. To do this, place the Clockworkmod recovery image you downloaded into the same "platform tools" folder of your SDK you used to open a command window(if using Minimal ADB and Fastboot, ensure your image is in the same folder as the program).
6) Making sure your device is in fastboot mode:
Type in "fastboot flash recovery-clockwork-6.0.4.7-flo.img"(if you changed the file name of the image change <recovery-clockwork-6.0.4.7-flo> to whatever you change it to) to your command window and hit enter. Once the flash finishes up, go back into fastboot mode by holding the power and volume down buttons on your device to turn it back on. Using the power buttons, then navigate to Recovery Mode, and hit the power button to continue:


1) First, plug in the Nexus 7 into a USB port. It doesn't necessarily need to show up under My Computer as long as you can find it in a below step.
2) Next, if you're using the Android SDK. Navigate to the SDK folder after extracting it and open up Platform Tools. Next, hold shift and right click in the folder. You should see an option to "open command window here".
Click that and go to the next step.
Now the below steps are the same for both methods of doing this. If using Minimal ADB and Fastboot, the only difference is that you need to open the program to bring up this window:
3) Next type in "adb devices" without the quotation marks into the command prompt. If your device is being picked up by the computer, you should see this show up:
If you don't see this, try one of the following:
3-1) Ensure USB Debugging is enabled on your Nexus 7. Do this by going to Settings--Developer Options--Android Debugging.
If developer options aren't enabled, do this by going to Settings--About Tablet and tapping Build Number until it says " You are now a developer"
3-2) Make sure your tablet has the proper drivers installed. Check this by searching for "Device Manager" on your computer and entering those settings. From here you should see something along the lines of "Nexus 7" or "Android Phone" or Android ADB interface. If your device isn't recognized by "adb devices" then right click whichever of the above titles you have, click update driver software, , browse my computer for driver software, and navigate to where you have the Google USB Driver.
 |
| Ignore the SAMSUNG Android Phone heading, my driver situation is a little messed up :P. |
Note: the following step will wipe user data, make sure you don't have anything you'd mind losing on your device. IE: A free U2 Album
4) Once you know your Nexus 7 is detected by your computer, type in "adb reboot bootloader" into the same command window.Your Nexus 7 should look like this:
Next, type in "fastboot oem unlock". This will unlock the bootloader on your Nexus 7, and allow you to install custom software like Cyanogenmod. A disclaimer tell you of the potential horrors of unlocking your bootloader will pop up. If you dare to ignore them, navigate the menu with your volume keys and confirm your bravery with the power button. Because everything has been wiped, you will need to re-enable USB debugging in your device settings. (See Step 3)
5) Now you need to install a custom recovery. A custom recovery will allow you to do things like make backups and or install Cyanogenmod or other mods. The built in recovery your tablet comes with does not allow for these things. To do this, place the Clockworkmod recovery image you downloaded into the same "platform tools" folder of your SDK you used to open a command window(if using Minimal ADB and Fastboot, ensure your image is in the same folder as the program).
6) Making sure your device is in fastboot mode:
Type in "fastboot flash recovery-clockwork-6.0.4.7-flo.img"(if you changed the file name of the image change <recovery-clockwork-6.0.4.7-flo> to whatever you change it to) to your command window and hit enter. Once the flash finishes up, go back into fastboot mode by holding the power and volume down buttons on your device to turn it back on. Using the power buttons, then navigate to Recovery Mode, and hit the power button to continue:
If all went well, you should see this screen:
from here, go on to the next step.
7) Navigating Clockworkmod is the same as navigating Fastboot mode, use the volume keys to navigate and the power button to confirm.
7-1) This is an optional step, but definitely recommended if you want to be careful. Navigate to Backup and Restore and hit enter. Your device will now take a few minutes and ensure everything's nice and backed up just in case you mess up these last two steps or want to go back to stock
7-2) Navigate to and select Wipe Data/ Factory Reset. This will clean up your device, and leave it ready to accept Cyanogenmod as it's software partner for life(or till you get bored and want to flash something else)
8) From here on out, it's smooth sailing. Go to Install Zip--Install Zip From Sideload on your tablet. Now on your computer, ensure that the Cyanogenmod install zip is in the same folder as your Platform Tools and type "adb sideload cm-12-20150405-NIGHTLY-flo.zip" (or whatever filename you have) into your command window and hit enter. You can tell your installation was complete and successful if there are no scary messages or other unpleasantries.
9) (Potentially Final Step) Using the Recovery, go to Reboot System Now and hit enter. If all went well, you should see this animation on boot:
Congratulations, you did it! Now you can celebrate by messing around with the cool theming engine that comes with CM12, or better yet. Go to the next step and install the G-Apps.....
10)(Optional) Now that you have your brand new Cyanogenmod tablet you probably want to use Gmail, the Play Store, Youtube, etc..... Well it's your lucky day, installing Google Apps is a relatively painless process. Place your G-Apps package in your trusty old Platform Tools folder and enter in "adb push gapps-lp-20141212-signed.zip/sdcard/"(or other file name) to your command window. Next, go back to your recovery through Fastboot--Recovery. From there go to Install Zip, and go to the file you pushed to your Nexus earlier. Now just reboot your device,and that's it! You have flashed Cyanogen and pushed Google Apps, pat yourself on the back.
Credits:
- Google and Asus for making the Nexus 7
- Cyanogenmod for creating CM12
- Clockworkmod for their custom recovery
- shimp208 for Minimal ADB and Fastboot
- Itvends.com for the G-Apps package
Have an awesome idea for a CM12 theme? Tell us about it on Twitter @masala_tech, and as always remember to keep things spicy!
By Sahen Rai


